5 Step Guide to Organizing
In recognition of National Get Organized Week, I am pleased to offer this guest blog post written by my friend Lou Anne Dunn, Professional Organizer and owner of Neatly Dunn. Lou Anne shares her 5 Step Guide to Organizing.
I’ve heard people say that organizing isn’t rocket science. This is true, but for some people, is just as complicated. Some people are born with an innate ability to organize, while others are taught this skill as they develop. That leaves the next group, those who suffer from disorganization. Many people in this group struggle daily with basic organization that affects them both in their personal and professional lives. I want to encourage those in the last group to start today with a few simple steps to organize your life and home.
Organization CAN be learned! Like any new skill, it will take time and devotion but before you know it you will be living a more organized life. The following steps will be your guide as you work through every area of your home.
1. Breathe (repeat this step as necessary throughout the process)
The thought of organizing can be overwhelming for some. It is important to remember that the end product will be a good thing. It may not be quick but it will be worth it. Try to envision in your mind what you want the space to look like. If you are artistic you can sketch it out; if not, find a picture that you like and focus on it. When you begin to feel stressed take a break, breathe, and refocus. Begin again.
 2. Start small
Pick an area to start. It doesn’t have to be an entire room. You can begin in a drawer, cabinet, or closet. It’s more important to begin the process and practice these steps. As you complete the first project you will feel empowered to start the next one. You can build in size with each completed project.
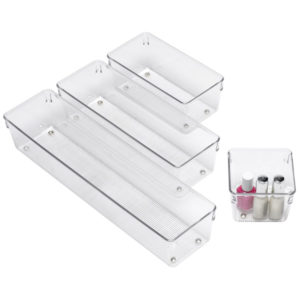
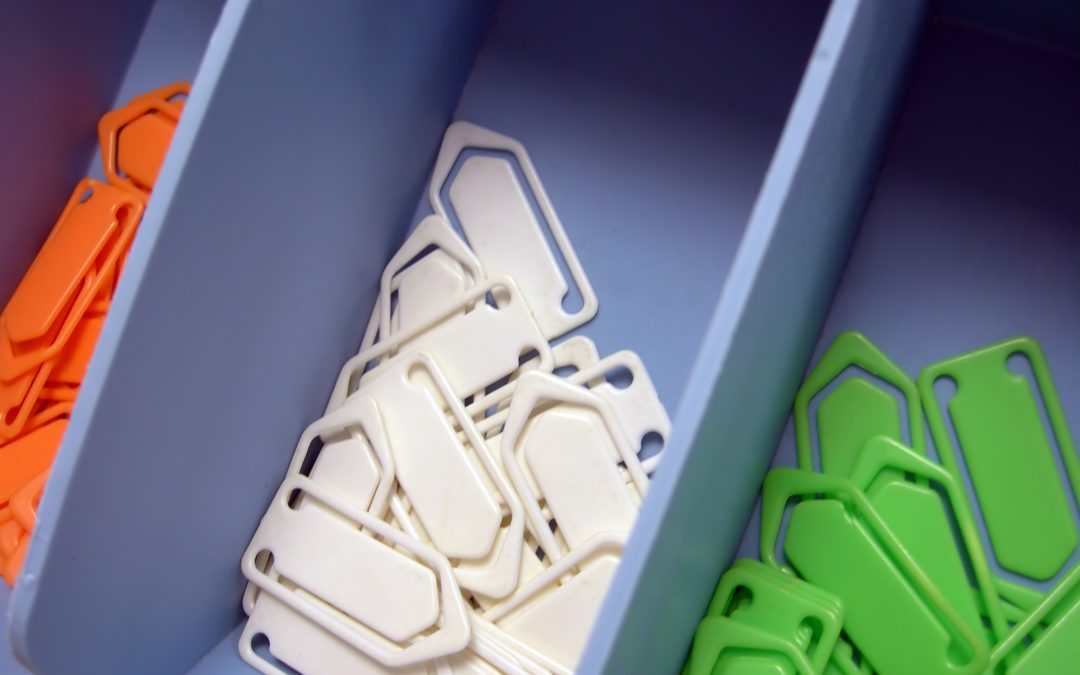
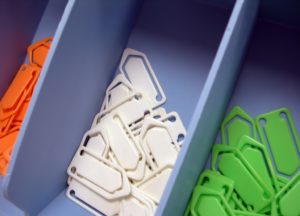
3. Like items together
This step is critical. It allows you to see how many of the same item you have and assess the condition of each item. It increases your productivity by allowing you the ability to quickly find items and it saves you money by not purchasing items you already own but can’t find. Having one location for the items eliminates the guesswork in your daily routine, which relieves stress.
4. Ask some basic questions
Once you’ve gathered your items all together you can begin to ask yourself the important questions about each category. You could ask any of the following questions about most items regardless of category. Does it work (i.e. not broken or torn), When did I last use or wear it (if ever), Is it a special use item (holiday or entertaining), Do I truly get enjoyment from the item when I see, use, or wear it?
Once you’ve answered those questions you can decide if you need to re-home (i.e. discard, donate, or repurpose) the item or if it is useful or important enough to remain in your home.
 5. Store it where you use it
Just a couple examples, keep envelopes and stamps where you pay bills, keep keys, shoes and coats near the entry area. Set up your kitchen or office with the same principle. The items you use most often should be in easy reach as you work. The exact set up will be dependant upon how you work. You shouldn’t leave the area to get your most used items.
Revisit the list often so that you can commit these five steps to memory. If you find it is just too much to tackle on your own, don’t hesitate to reach out to a Professional Organizer. Either way you are on your way to a more organized life!
Lou Anne Dunn
Professional Organizer
Neatly Dunn
www.neatlydunn.com
(252) 341-2437
Organizing your Life and Home, One project at a time!
Member ICD, NAPO
2015-16 Membership Director NAPO-NC
To find a Professional Organizer in your area, visit www.NAPO.net